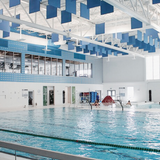
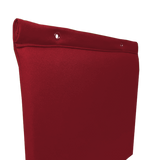
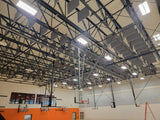
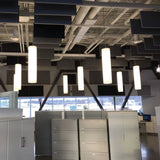
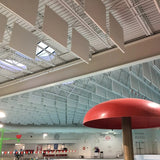
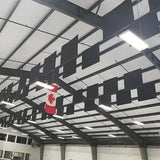
Signature Acoustic Baffles
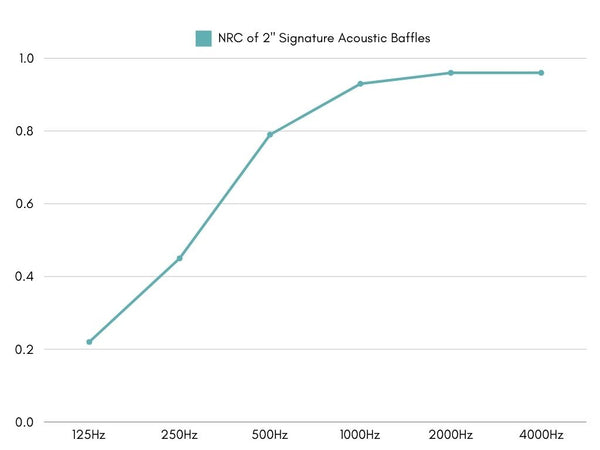
NRC Rating
|
FREQUENCY (Hz)
|
|||||||
|
125 |
250 |
500 |
1000 |
2000 |
4000 |
NRC |
|
|
2" Baffle
|
0.22 |
0.45 |
0.79 |
0.93 |
0.96 |
0.96 |
0.80 |
Fire Rating

ASTM E-84: Class 1 or A
CAN/ULC S102: Class A
Lead Time

Products will be ready to ship within 2-4 weeks from order date.
All products that are 4'x4' or larger will be sent on pallets via LTL or dedicated trucks - depending upon order size. If you have questions, please contact us for more info.
Shipping

We offer flat-rate shipping for most orders. Flat Rate shipping starts at $50, and increases based upon order size. Shipping costs will be shown at checkout and do not require a specific quote.
All orders containing 4'x4' panels and baffles will be shipped on a pallet.
Large orders of 4'x2' panels and baffles will be shipped on pallet(s) via LTL or dedicated trucks - depending upon order size.
Large Order:
45+ (4'x2'x2") panels/baffles
OR
89+ (4'x2'x1") panels/baffles.
Additional shipping information is available on our shipping policy page.
Most orders are shipped via UPS. Shipping delivery times cannot be guaranteed once the order has been transferred to the carrier.
Cleaning & Care Instructions
To remove surface dust and dirt from the fabric, use a vacuum with a horsehair duster brush attachment. If vacuuming doesn't fully clean the fabric, gently dab it with a slightly damp cloth. Use a white cotton cloth and a solution of mild detergent mixed with water. Be sure to wring out the cloth thoroughly to avoid soaking the fabric.
Avoid applying excessive pressure or scrubbing the fabric.
Installation Guidelines & Mounting Details
-
Handle with Care:
- Carry boxes with two people and keep baffles flat.
- Don’t press the baffles too hard or put pressure on the edges.
- Keep them in their packaging until ready to install, and if dusty, use a soft brush on a vacuum.
-
Plan Your Layout:
- Decide where each baffle will hang on the ceiling and mark the spots for eye screws.
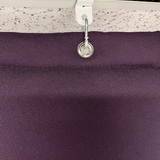
- Make sure the eye screws line up with the baffle grommets (holes) for vertical hanging.
-
Install Eye Screws:
- Drill and attach eye screws based on the ceiling type (e.g., use toggles for drywall ceilings).
-
Attach Cables to Baffles:
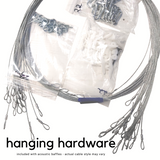
- Connect the cable to each baffle and add a carabiner on the other end.
- Use PVC-coated cables in pool areas.
-
Hang the Baffles:
- Carefully clip each baffle onto the ceiling eye screws.
- Ensure they all hang at the same angle, with the flat side showing if that’s preferred.
- If there are sprinklers, keep the top of each baffle at least 18 inches below them.
-
Clean as Needed:
- After installation, use a soft vacuum brush if there’s any dust on the baffles.


